Continuous Integration/Continuous delivery (CI/CD) is the practice of automating the integration of code changes from multiple developers into a single codebase. It is a software development practice where the developers commit their work frequently to the central code repository (Github or Stash). Then there are automated tools that build the newly committed code and do a code review, etc as required upon integration.
One of the main features of AWX / Tower is that you can integrate it with external code repositories and automate the sync process. You can have different AWX Project linked to different repositories which is only the start of amazing things you can do ….
Let’s create our first project and sync it with a GitHub Repo.
GitHub Setup:
You will need GitHub access token to connect AWX to Github. If you are new to GitHub, then create a new GitHub account and follow steps below:
To create a personal access token in GitHub, follow these steps:
- Log into the online administrative console.
- Under your GitHub user profile (not the repository profile), click the “Settings” link.
- Scroll down and click the “Developer Settings” link
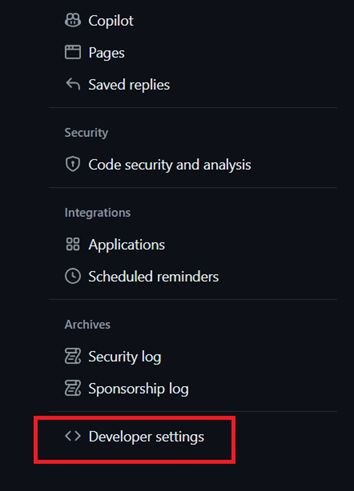
4. Click the GitHub “Personal access tokens” link.
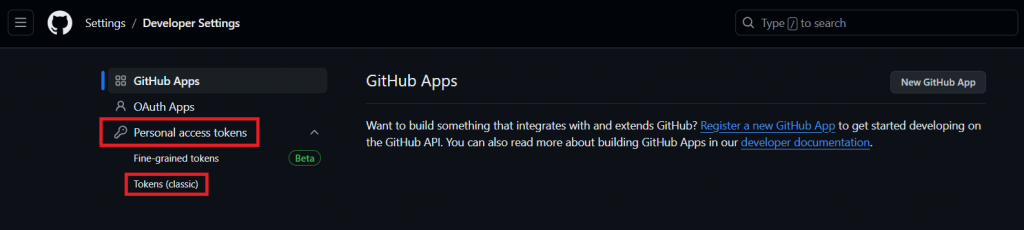
5. Click the “Generate new token” link and provide your password again if required.
6. Provide a name for the GitHub personal access token in the “Note” field.
7. Set the access token’s expiration timeout to “No expiration.”
8. Click the checkbox for every permission scope to give your GitHub token full repository access.
9. Click “Generate token.”
10. Copy the GitHub Personal Access Token and use this as the password when you do a Git push to GitHub.
NOTE: I used the newer version Token and in permissions you need pull/push permissions.
AWX Credentials for Github
Let’s add the above created credentials/token to AWX credentials.
Provide your github email address as user and the token.
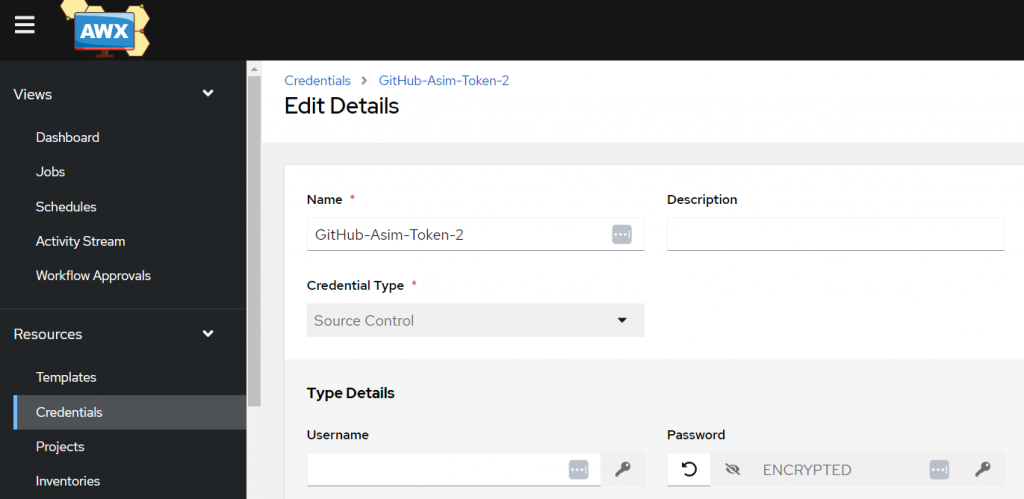
You can also create a custom credential template that only takes the token field. If interested you can use this guide: https://www.linkedin.com/pulse/how-create-use-custom-credential-types-awx-ansible-david-henderson-ebe1e/
First Default Repository
My first Default Repo looks like this:
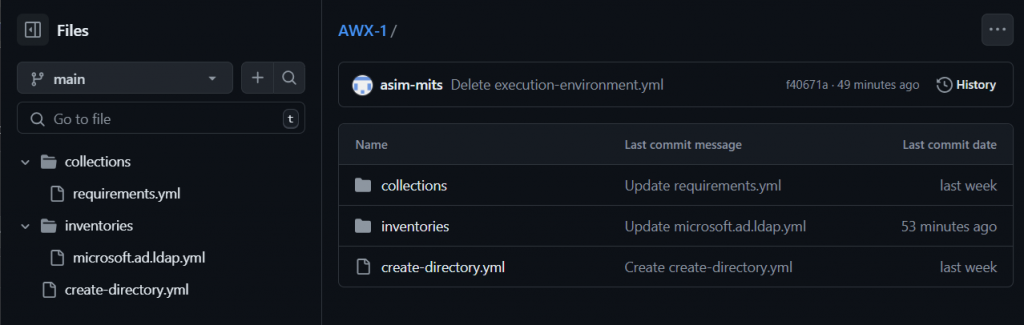
collections folder: has a file called requirements.yml, this contains a list of ansible collections, so just add your collections and AWX will pick it up when syncing.
Inventories folder: Best to keep all inventories files and dynamic inventory code in here.
The root folder can then have your playbooks. You can have lots of playbooks here and then let AWX know which yml file to run as playbook.
Once repository is ready, now lets add this to AWX, for this go to Projects
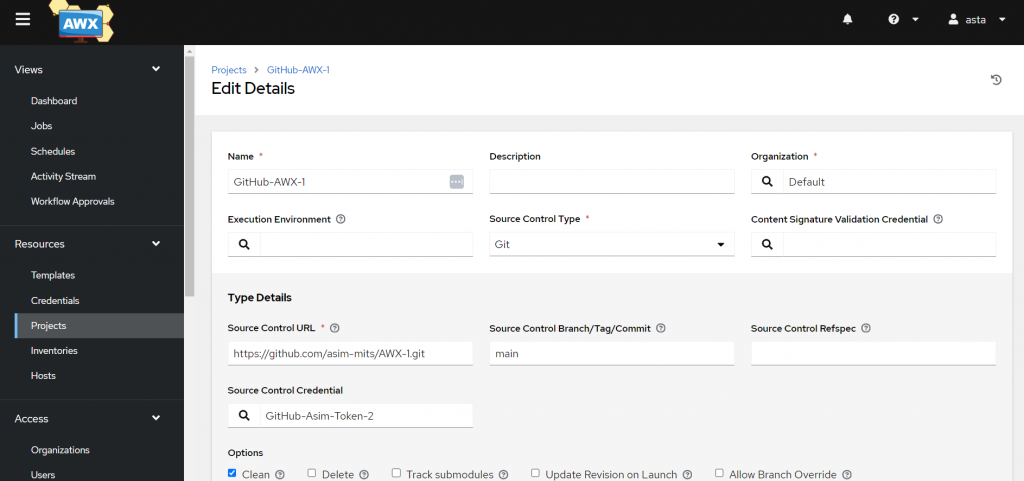
You can now save and try to sync.
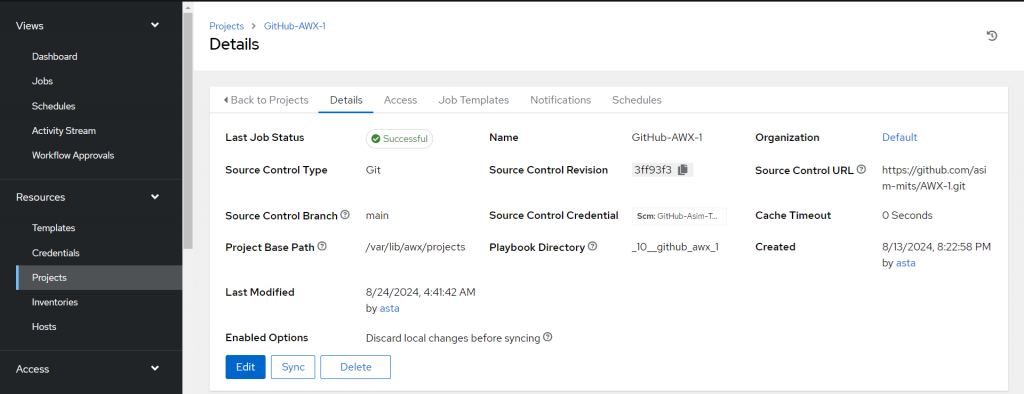
You have now successfully created your first Project using Github sync.
Leave a Reply